Prior to launching either ChiroPadEMR or ChiroOffice, it is necessary to logon to the ChiroSuiteEHR Attendant . Double click the ChiroSuiteEHR icon (figure 3) on the computer’s desktop.

Figure 3
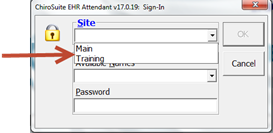
The ChiroSuiteEHR Sign-In appears (figure 4). First select the Site that will be used. There are 2 basic Sites, Main and Training. In some practices, there may be other Sites due to the configuration of each practice. The Main Site is where the live patient data is located. The Training Site has totally fictitious data and enables the office staff to learn and play with the software without endangering any live real patient data.

Figure 4
Once the Site has been selected, the Available Names drop down list will be populated. The Main Site will list all staff members that have been entered the in the User Security Catalog (See Chapter 7). Each staff member MUST enter his/her Password in order to continue. The Training Site will list User 1, User 2, and User 3. The Password for all 3 is user.
After the Sign-In has been completed, the ChiroSuiteEHR Attendant opens. Once the ChiroSuiteEHR Attendant (figure 5) is open, click on the appropriate button to launch either ChiroPadEMR or ChiroOffice.

Figure 5
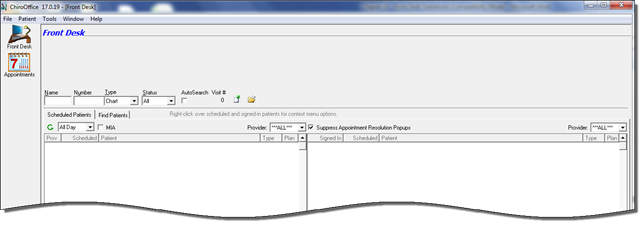
After either ChiroOffice or ChiroPadEMR has been launched the Front Desk window is displayed as in Figure 6.

Figure 6
The column on the left of the Front Desk window is the icon bar. The appearance of icons changes dynamically, depending on screen resolution, the size of the window, and whether a patient file is open or not.
When a patient account is open, the icons that provide access to each section of the patient’s file appear. There are different icons in ChiroOffice and ChiroPadEMR (figure 7).


Figure 7