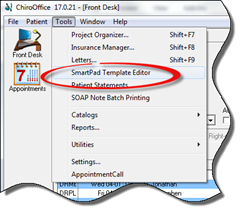
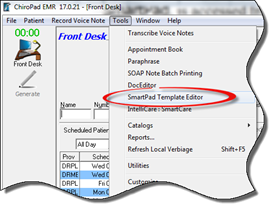
SmartPad, is accessed from within either ChiroOffice or ChiroPadEMR. At the top of the window, click on Tools and select SmartPad Template Editor from the drop-down menu (figure 1).
Figure 1
The SmartPad Template Editor will open (figure 2).
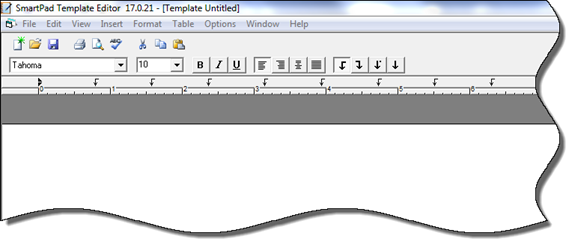
Figure 2
Across the top of the window are a series of icons. Going from left to right, the icons are
•New (green starburst on paper) – to create a new template
•Open File – enables the searching of the office data to open an existing ChiroSuiteEHR document
•Save (floppy disk representing data storage) – click this icon to preserve any entries made in the program
•Printer – prints the current template document on paper
•Preview (magnifying glass on paper) – shows the user a full page view of the document
•Spell Check – searches the document for misspelled and unknown words
•Cut (scissors) – takes the highlighted text out of its current location and saves it for pasting into another location. Note that the saved item is only temporarily saved. As soon as either Cut or Copy is clicked again, the previous item is removed from the computer’s memory.
•Copy – saves a copy of the highlighted text and allows that copy to be pasted into another location. Note that the saved item is only temporarily saved. As soon as either Cut or Copy is clicked again, the previous item is removed from the computer’s memory.
•Paste – places the item that had been selected with Cut or Copy into the current location of the cursor
Under the series of icons there are additional controls providing additional options for the document that is being worked on. These include:
•Font Selector – in the drop down box choose the font that should be used in the document. The font list will include all fonts installed on that computer. If the desired font is not on the list, it needs to be installed on the computer.
•Font Size – the next drop down box enables the selection of the font size
•B Button – this button turns on/off the bold face effect. There are 2 options:
o Place the cursor where the typing will begin, click the B Button, and then everything typed from that point will be bold
o After the typing is finished, highlight the text that should be bold, and then click the B Button.
•I Button – this button turns on/off the italic effect. There are 2 options:
o Place the cursor where the typing will begin, click the I Button, and then everything typed from that point will be italicized
o After the typing is finished, highlight the text that should be italics, and then click the I Button.
•U Button - this button turns on/off the underline effect. There are 2 options:
o Place the cursor where the typing will begin, click the U Button, and then everything typed from that point will be italicized
o After the typing is finished, highlight the text that should be italics, and then click the U Button.
•Margin Selectors – there are 4 icons that enable the appearance of the document
o Left Justify – this is the standard that is used in most documents. It means that all typing will be aligned against the left margin of the document
o Right Justify - for those that would like the typing to be aligned along the right margin, select this option
o Center Justify – each typed line will be centered on the page
o Balanced Justify – this aligns text along both the left and right margins. It automatically adjusts the spacing of characters on each line
•Tab Selectors – click on one of the arrow buttons, then click on the horizontal ruler to set a stop point. With the cursor in the document, pushing the tab key will move the cursor to the selected tab stops.